

Installing a new construction window might sound like a task only seasoned builders can handle. Still, with proper guidance, tools, and a bit of patience, homeowners in Indiana and across the U.S. can clearly understand the process. Whether you’re tackling a major remodel or building a new addition, this guide walks you through everything you need to know about installing a new construction window safely and adequately.
What Is a New Construction Window?
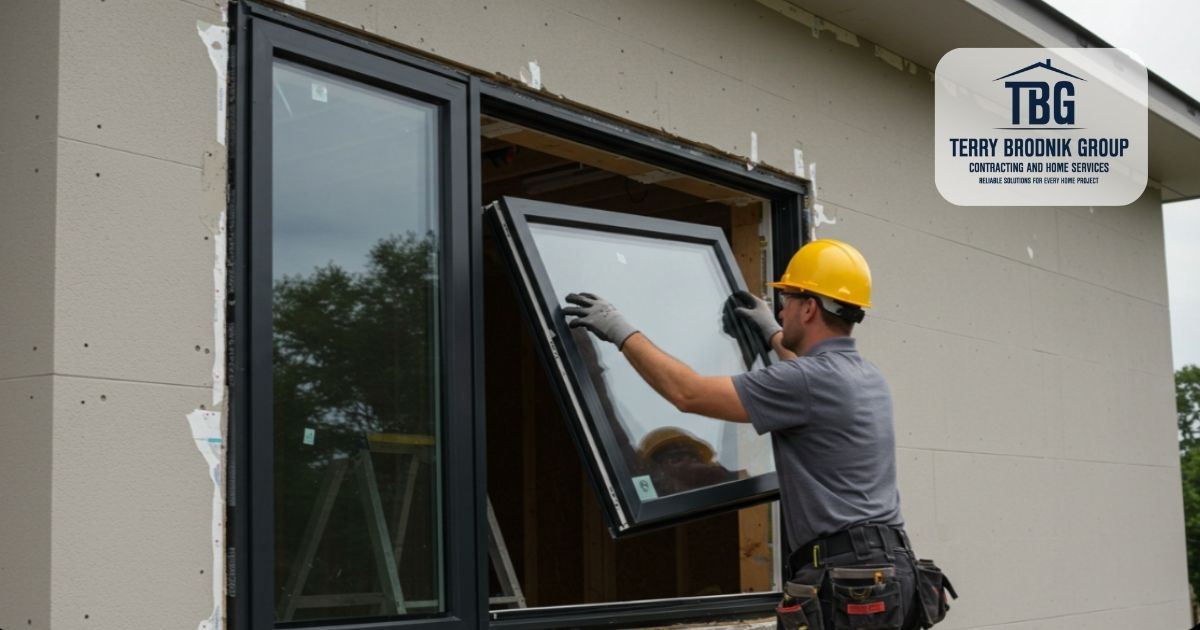
A new construction window is designed to be installed directly into the frame of a new or stripped-down wall. It comes with a nailing flange (also known as a mounting fin) that allows the window to be securely attached to the house’s studs. This differs from replacement windows, which are designed to fit into existing window openings.
When Do You Need One?
You’ll typically need a new construction window when:
- You’re building a new home or room addition
- The wall framing is exposed due to renovation
- The existing window frame is damaged or rotting
- You want to ensure better insulation and weatherproofing
In Indiana, remodeling projects that involve changes to the wall structure, such as installing a new construction window, may require a permit. Always check with your local building authority before beginning work.
Tools and Materials Checklist
| Tool/Material | Why You Need It |
| Measuring Tape | To size your rough opening accurately |
| Level & Square | To ensure your window is straight and flush |
| Flashing Tape | For waterproofing and sealing |
| Caulk & Caulking Gun | To seal edges and prevent drafts |
| Screws/Nails + Drill | For attaching the window frame |
| Low-Expansion Foam | To insulate around the frame |
| Utility Knife | For trimming house wrap or flashing tape |
Step-by-Step: How to Install a New Construction Window
1. Prepare the Rough Opening
Measure the width and height of your opening to ensure they match your window’s specifications. The opening should be about 1/2″ larger in both directions for fitting.
2. Check for Square and Level
Use your framing square and level to confirm the sides are perfectly vertical and horizontal. If not, make the necessary adjustments.
3. Install Sill Flashing
Apply flashing tape along the bottom of the opening sill. This helps direct water away from your house.
4. Dry-Fit the Window
Set the window into the opening without fastening it. Ensure the window fits and is square. Adjust as needed.
5. Attach the Window
Once aligned, drive nails or screws through the nailing fin into the wall framing, starting with the top corners and working your way down.
6. Apply Side and Top Flashing
Cover the side flanges and top flange with flashing tape. Always layer from bottom to top to ensure water flows outward.
7. Integrate House Wrap
Wrap the house barrier (Tyvek or a similar material) over the top flashing. Seal all seams for a weather-tight barrier.
8. Seal and Insulate
Use low-expansion foam insulation to fill the gap between the window and framing. Then caulk the edges from the outside.
9. Final Inspection
Check for gaps, leaks, or crooked lines. Adjust as needed before reinstallation of the siding.
Common Mistakes to Avoid
- Skipping or improperly layering flashing
- Using high-expansion foam (which can warp the frame)
- Not checking local permit requirements
- Attaching windows before ensuring the opening is level
- Leaving gaps that can allow drafts and water to enter
Local Expertise: Why Brownsburg Homeowners Trust Us
Even if you’re handy, window installation requires waterproofing, structural awareness, and knowledge of building codes. That’s why many homeowners in Brownsburg and across Indiana trust the Terry Brodnik Group. We handle everything from framing to finishing, ensuring your new construction window is installed right the first time, saving you money and stress in the long run.
We’re known for combining top-tier craftsmanship with local knowledge of Brownsburg’s weather patterns and building regulations.
FAQs About Installing a New Construction Window
Do I need a permit to install a new construction window in Indiana?
Yes, in most cities and counties in Indiana, structural changes like window openings require a permit.
Can I install a new construction window in an existing wall?
Yes, if you remove siding and expose the studs. It’s more invasive than a replacement window, but it allows for better sealing and durability.
What’s the difference between new construction and replacement windows?
New construction windows are mounted directly to the framing. Replacement windows fit into existing frames.
How long does it take to install one window?
For a professional, about 2–4 hours. DIYers may need a full day, depending on their level of experience.
What kind of flashing should I use?
High-quality butyl or rubberized asphalt flashing tape is recommended.
How do I know my rough opening is the right size?
It should be about 1/2″ larger than the window size in both width and height to allow for adjustment and insulation.
Can this process improve energy efficiency?
Yes. Properly installed new construction windows provide better insulation, reduce drafts, and help lower energy bills.
Conclusion
Installing a new construction window is a rewarding project that boosts your home’s comfort and energy efficiency. With the right tools, a step-by-step approach, and a focus on quality, it’s entirely doable. But if you want it done quickly, cleanly, and up to code, don’t hesitate to reach out to the Terry Brodnik Group—your trusted name in window and framing services across Indiana.